Basics of Post Processing in Photoshop - Adobe Camera Raw
This article explains the editing workflow in Adobe Photoshop and Adobe Camera Raw. Lightroom Classic has a similar interface and almost all the same features as Adobe Camera Raw.
If you already know how to post process photos in Lightroom, great news, you already know 90% of the basics of post processing in Photoshop!
Of course Photoshop has countless features and tools that no other software offers. However most of the editing will be done in Adobe Camera Raw which is a Photoshop plugin that also powers Lightroom and even the interface is mostly the same.
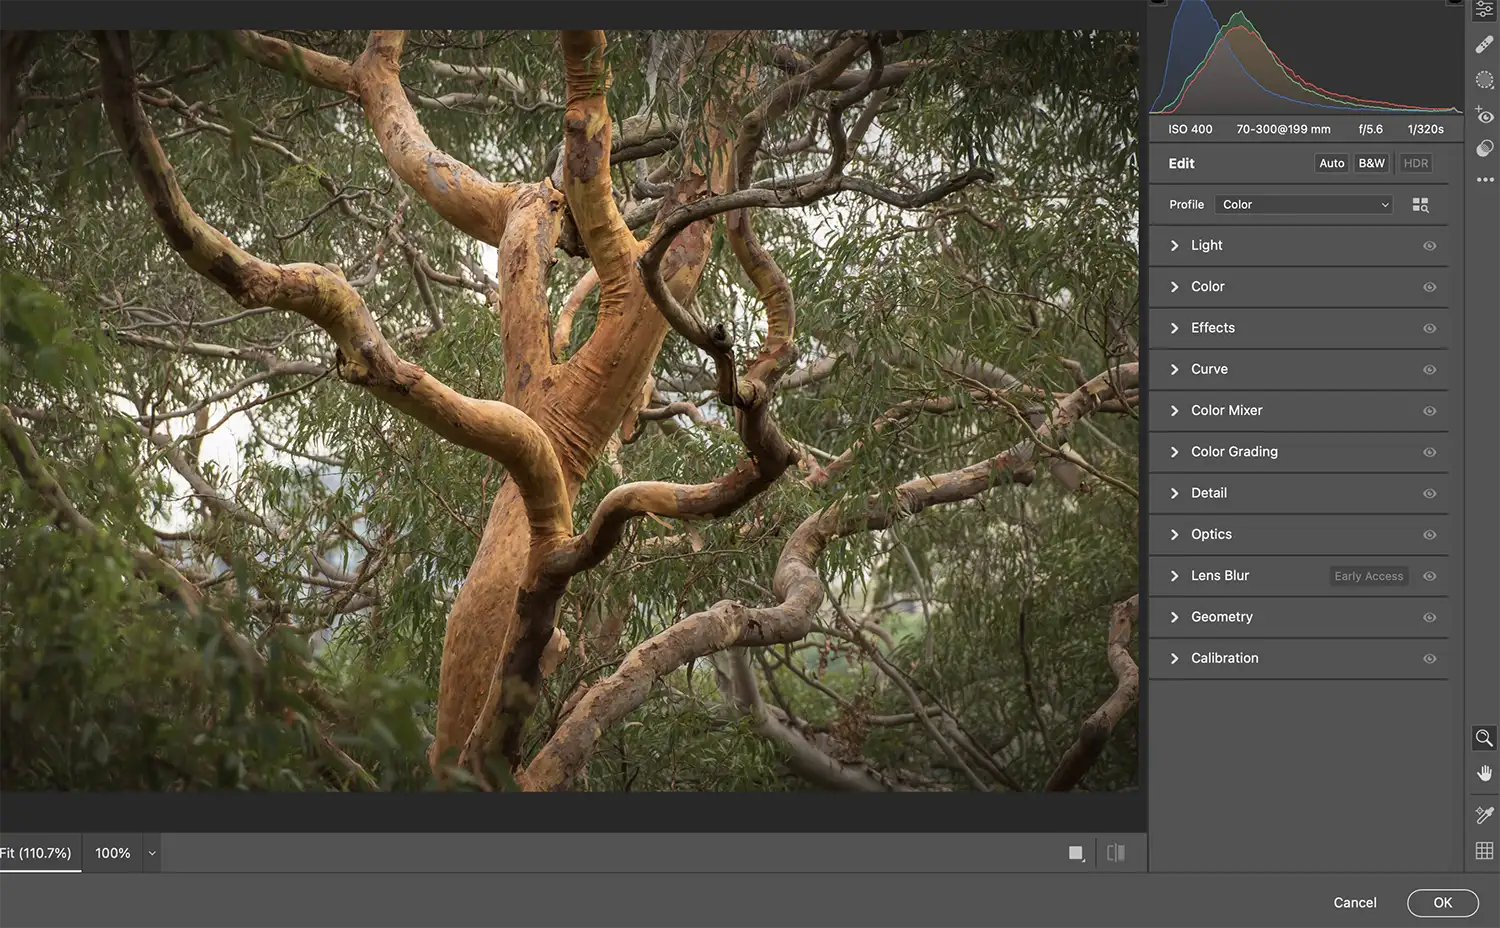
Photoshop can open raw files and it will automatically open the Adobe Camera Raw (ACR) window with that raw image loaded.

Just as in Lightroom you have all the panels like Light, Color, Effects, etc
I find that ACR works much faster than Lightroom and switching between Photoshop and ACR is seamless.
Another way of getting to ACR from photoshop is through Filter -> Adobe Camera Raw (or ctrl+shift+a) this will open any selected layer in ACR and if the layer is a smart object all the edits will be preserved so you can go back and make adjustments later. This is important because if the layer that you are editing is not a smart object, ACR will forget about the original file and apply all the adjustments destructively, i.e. the next time you open the same layer, all the sliders will be reset.
After finishing editing the image you can press Done, which will save the edits along with the raw file in a metadata file. Another option is Open, which opens the file in Photoshop for additional editing or exporting.
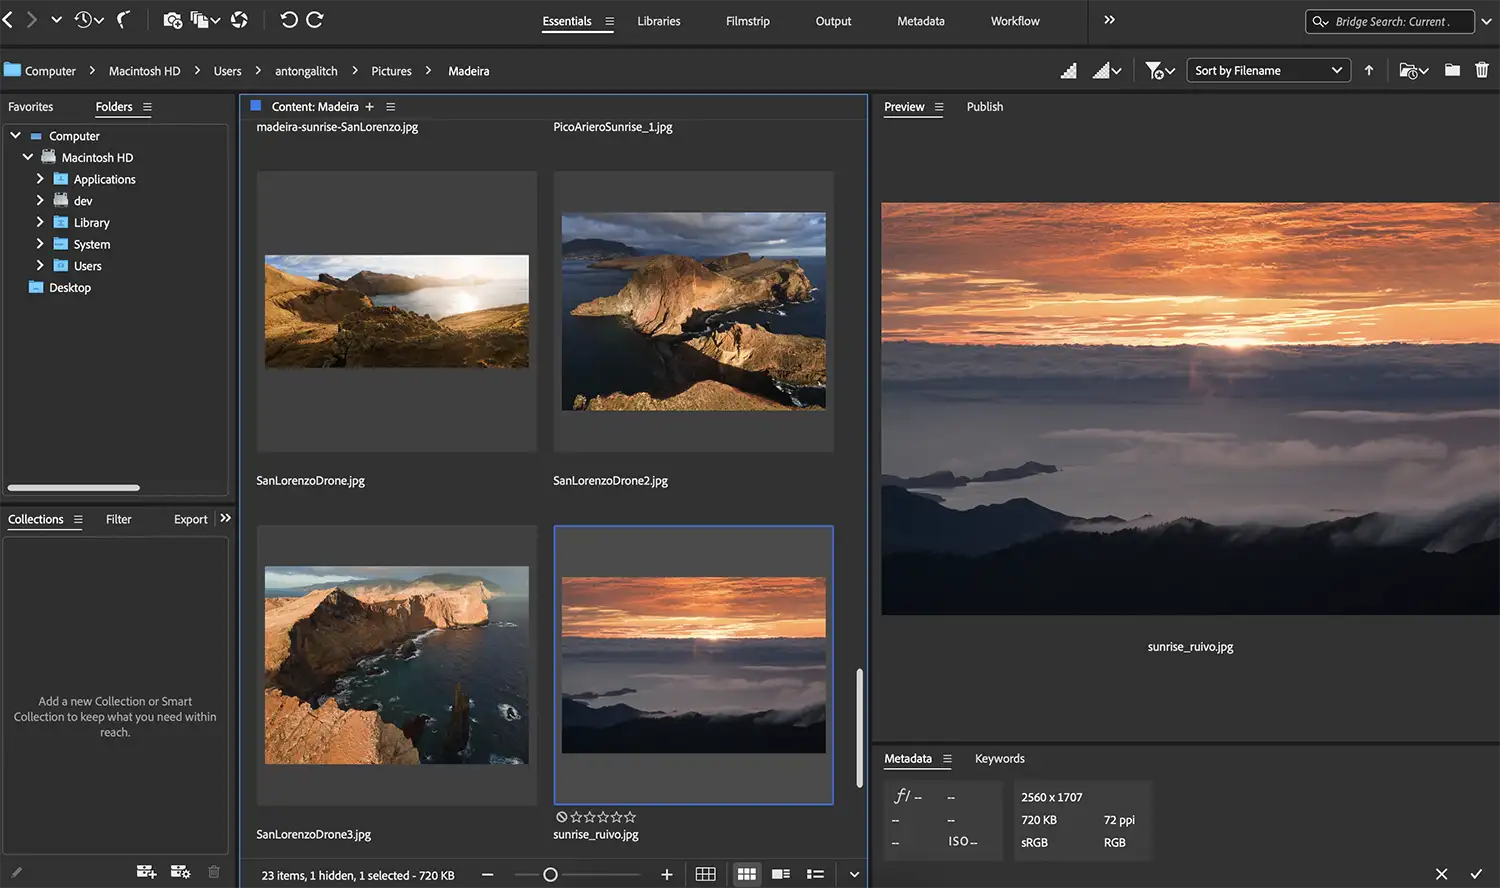
ACR is only used for editing (just like the Develop panel in Lightroom) and it has no cataloging or organizing functionality. There is another Adobe software that can be used to replace Lightroom’s Library and that is Adobe Bridge.

Adobe Camera Raw will be where you spend most of your time but Photoshop has a lot of extra features and some advanced techniques that are worth mentioning and that I will explain later:
- Sharpening and Noise reduction
- Cleaning up an image and removing objects
- Focus stacking
- Adding orton glow effect
- Levels and Curve adjustments
- Hue-Saturation adjustment
- Luminosity masking
- Exposure blending
- Time blending
Go back to Post Processing